Installation
Requirements
Hardware
The table shows the connection path used by Omnibattery for each supported battery. Adapters and bridges are only required where noted.
| Battery / component | Supported connection | Additional requirement |
|---|---|---|
| Marstek Venus E/C (v2/v3), Venus A, Venus D | Modbus TCP; Modbus RTU over USB–RS485; or LilyGo RS485/ESPHome bridge (Venus E v2) | Modbus TCP: Venus E v2 needs an RS485 → TCP converter (e.g. Elfin-EW11); Venus E v3, Venus A and Venus D use native Ethernet. Modbus RTU: USB–RS485 adapter. ESPHome: the LilyGo bridge must expose its required entities in Home Assistant. |
| Zendure SolarFlow 4000 Mix Pro, 4000 Mix AC+, 2400 AC+, 2400 AC Pro, 1600 AC+, 800 Pro, 800 Plus, 800 | Local HTTP API | Keep HEMS disabled in the Zendure app. HEMS overrides Omnibattery's manual power setpoint when enabled. |
| Anker SOLIX Solarbank Max AC, 4 E5000 Pro | Modbus TCP | Enable Third-Party Control in the Anker app. Only one Modbus client can connect at a time. |
| Huawei SUN2000 + LUNA2000 | Modbus TCP through the SUN2000 inverter | The default control path requires the Huawei Solar integration and a shared Modbus proxy. Direct writes are optional. See the Huawei setup guide. |
| Sessy Home Battery | Local HTTP API through the Sessy dongle | The dongle must be reachable from Home Assistant. Enter its IP/hostname, port and dongle credentials; port 80 is the default. |
| Hoymiles MS-A2 / HiBattery | MQTT through Home Assistant's configured MQTT integration | A working local MQTT broker is required (for example, Mosquitto; an existing broker can be reused). Enable MQTT Service in S-Miles Home and make the broker reachable from the battery. |
| Grid sensor | Home Assistant entity | Sensor measuring total grid consumption (e.g. Shelly EM3, Neurio, smart-meter integration). |
| Solar production meter (optional) | Home Assistant entity | Real-time PV production power sensor in W or kW. It lets Omnibattery derive Home Consumption accurately and populate the Solar node in the integration dashboard. Leave it empty when the panels feed the battery's MPPT inputs directly. |
Grid-meter update rate
The grid meter/sensor must publish a new value in less than 10 seconds. An update interval of 1–2 seconds is recommended because the controller is event-driven and uses each publication to adjust battery power.
Software
- Home Assistant 2024.1.0 or later
- For Hoymiles MQTT batteries only: the Home Assistant MQTT integration and a working local MQTT broker. Omnibattery uses the broker through Home Assistant; it does not install one.
- For the default Huawei control method: the Huawei Solar integration. It is not required when direct Modbus writes are enabled.
- (Optional) Solar forecast sensor for predictive charging (Solcast, Forecast.Solar, etc.)
Network
- For Modbus TCP and local HTTP, the battery or bridge must be reachable from Home Assistant by IP on the same network segment or via routing.
- For Modbus RTU, connect the USB adapter to the Home Assistant host.
- For the LilyGo/ESPHome path, add the bridge to Home Assistant.
- For MQTT based batteries, the battery must be able to reach the MQTT broker over the local network.
Installation via HACS (recommended)
-
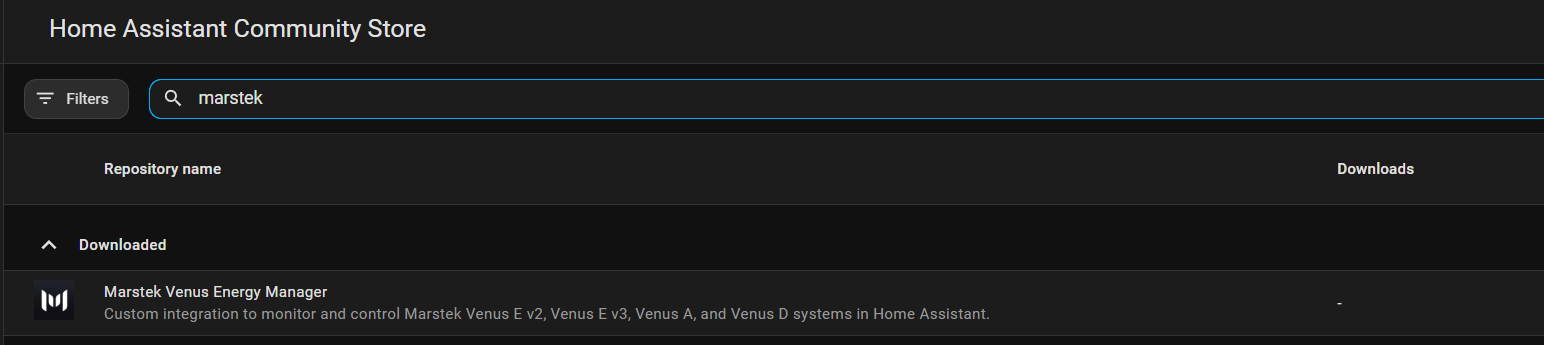
Click the button to add the repository to HACS:

-
Search for "Omnibattery" and install.
- Restart Home Assistant.
Manual installation
- Download the zip from the latest release at GitHub Releases.
- Extract the
omnibatteryfolder. - Copy it to the
custom_components/directory of your Home Assistant instance. - Restart Home Assistant.
Adding the integration
After installing and restarting:
- Go to Settings → Devices & Services.
- Click + ADD INTEGRATION.
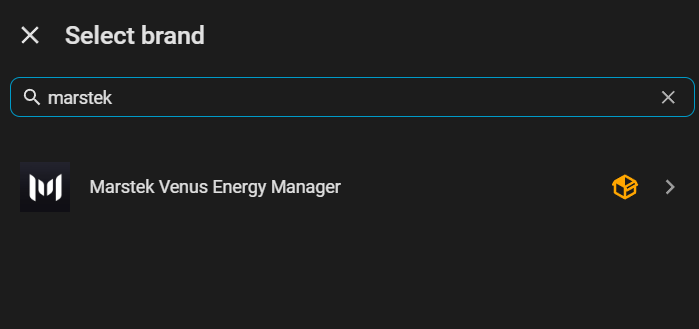
- Search for Omnibattery.
- Follow the configuration wizard.
Blueprint installation
Blueprints are optional and are installed in the Home Assistant configuration folder, not inside custom_components/.
The blueprint folder for your Home Assistant instance is:
If you access Home Assistant through Samba, Studio Code Server or File Editor, the same path is usually shown as:
Install from the Home Assistant UI
- Go to Settings → Automations & Scenes → Blueprints.
- Click Import Blueprint.
-
Paste the URL of the blueprint you want to import, for example:
-
Click Preview Blueprint and then Import Blueprint.
- Create a new automation from the imported blueprint and configure its inputs. For the Marstek active-balance blueprint, select the Omnibattery battery device; its standard entities are discovered automatically.
Manual installation
- Create the
/config/blueprints/automation/omnibattery/folder if it does not already exist. - Copy the
.yamlfiles from this repository'sblueprints/folder into it. - In Home Assistant, go to Settings → Automations & Scenes → Blueprints and click Reload Blueprints. If the option is not available, restart Home Assistant.
- Create a new automation from the installed blueprint.